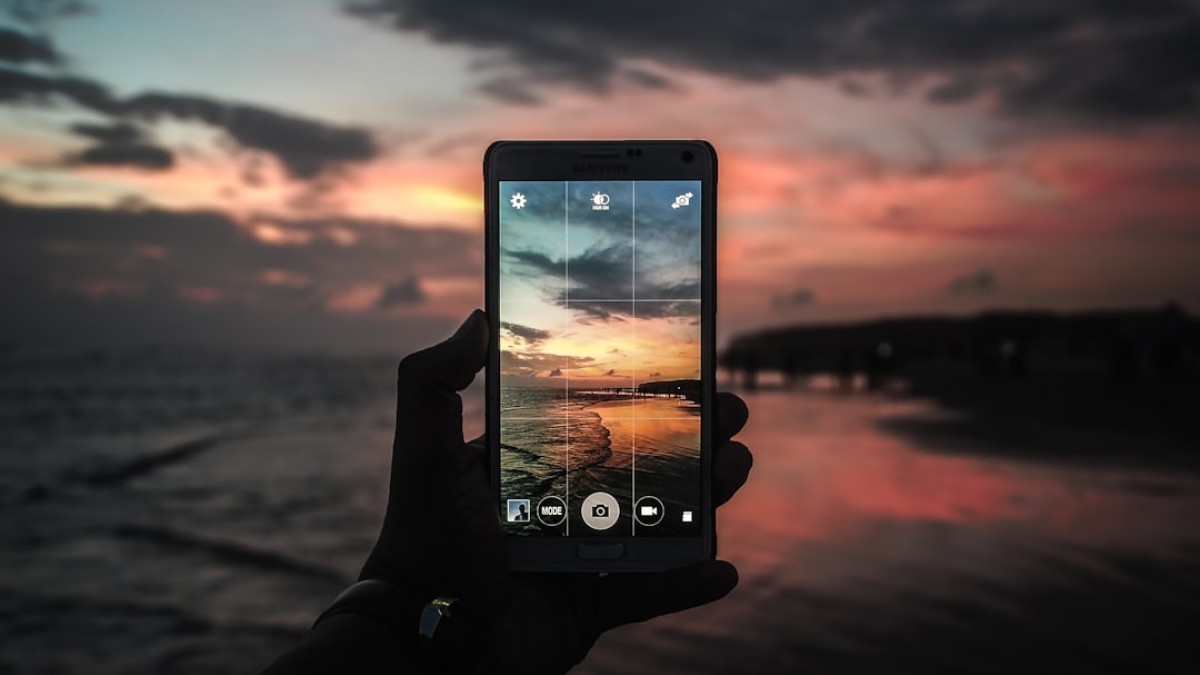
Photography has become a ubiquitous part of our lives, especially with smartphones equipped with advanced cameras. However, capturing the perfect shot is just the beginning. Editing your photos can truly transform them into stunning visuals. This guide aims to demystify mobile photo editing, offering you practical tools, tips, and a step-by-step approach to elevate your snapshots.
Introduction: Why Edit Your Photos?
Have you ever taken a photo that seemed almost perfect but needed just a little something to make it truly stand out? Whether it’s correcting lighting issues, removing distractions, or enhancing colors, photo editing can turn an ordinary snapshot into an extraordinary image.
With so many mobile photo editing apps available, the challenge lies not in finding a tool but in knowing how to use them effectively. In this guide, you’ll find actionable steps, common editing tasks, tool comparisons, and tips to help you navigate through the world of mobile photo editing effortlessly.
Use Cases for Different Editing Tasks
1. Cropping
Cropping is one of the simplest yet most effective ways to enhance a photo. Whether you want to eliminate unwanted distractions or change the composition, cropping can significantly improve your images.
How to Crop:
Most mobile editing apps have a cropping tool, often represented by a square icon. To crop an image:
- Open your photo in the editing app.
- Select the crop tool.
- Adjust the cropping borders to focus on the desired subject.
- Save your changes.
Helpful Apps:
- Snapseed: Offers advanced cropping options with aspect ratios.
- PicsArt: User-friendly cropping tool along with additional features for creative edits.
2. Background Removal
Removing backgrounds is particularly useful for creating social media content, profiles, or product images. It can help focus attention on your primary subject.
How to Remove Backgrounds:
- Open your chosen app and upload the image.
- Look for a ‘background remover’ or ‘cutout’ tool.
- Use the brush tool to manually select the area to keep or remove.
- Save your edited image.
Helpful Apps:
- PhotoRoom: Designed specifically for background removal with various output formats.
- Canva: Allows background removal while providing templates for various projects.
3. Basic Retouching
Basic retouching involves correcting imperfections such as blemishes, red-eye, or trivial skin flaws. This is especially important for portrait photos.
How to Retouch:
- Load your image into the editing app.
- Navigate to the ‘retouch’ or ‘healing’ tool.
- Tap on the blemishes or imperfections you want to correct.
- Save the retouched image.
Helpful Apps:
- BeautyPlus: Great for quick skin retouching.
- Facetune: Offers comprehensive tools for portrait enhancement.
4. Color Adjustment
Colors can convey emotions, set a mood, or enhance the image’s overall appeal. Adjusting brightness, contrast, saturation, and temperature can breathe new life into your photos.
How to Adjust Colors:
- Import your image into the app.
- Access the ‘adjust’ or ‘filter’ options.
- Slide the adjustment bars until you achieve your preferred look.
- Save the image.
Helpful Apps:
- VSCO: Features comprehensive color correction tools and filters.
- Adobe Lightroom Mobile: Offers professional-grade adjustments in a mobile-friendly format.
5. Adding Filters and Effects
Filters can instantly transform your photos by adding unique styles or moods. While some may prefer natural looks, others may enjoy creative effects.
How to Use Filters:
- Open your photo in the editing app.
- Browse through the available filters.
- Tap on your preferred filter and adjust its intensity.
- Save your final image.
Helpful Apps:
- Instagram: Easy access to a variety of filters for quick edits.
- Prisma: Unique filters inspired by famous artworks.
Tool-Specific How-To Instructions
1. Snapseed
Getting Started:
- Download Snapseed from your app store.
- Open the app and upload your image.
Key Features:
- Tools: Healing brush, tune image, crop.
- Filters: Various presets for one-tap adjustments.
How to Use:
- Select ‘Tools’ and choose the specific editing function you need, like Healing or Brush.
2. Canva
Getting Started:
- Install Canva from the app store.
- Create an account or login.
Key Features:
- Templates: Pre-set designs for various formats.
- Background Remover: With a subscription.
How to Use:
- Select ‘Create a design’ and upload your image. Use drag and drop to position elements.
3. VSCO
Getting Started:
- Download VSCO from your app store.
- Open it and sign up.
Key Features:
- Filters: A wide range of filters creating different aesthetics.
- Editing Tools: Exposure, contrast, saturation adjustments.
How to Use:
- Start by importing your photo and explore the ‘Edit’ menu for adjustments and filters.
4. Adobe Lightroom Mobile
Getting Started:
- Download Lightroom Mobile from the app store.
- Sign in or create an Adobe account.
Key Features:
- Advanced Editing: Fine-tune details, create presets.
- Camera Functionality: Shoot and edit in RAW format.
How to Use:
- Tap on the plus sign to import your image and explore ‘Light’ and ‘Color’ adjustments.
Common Mistakes and How to Avoid Them
-
Over-Editing
- Avoid excessive filters or adjustments that make your photo look unnatural. Always edit with moderation.
-
Ignoring Composition
- Ensure your edits maintain a good composition. Remember to focus on the subject and avoid unnecessary distractions.
-
Neglecting Resolution
- Always save your images in high resolution, especially if you plan to print them.
-
Not Using Layers
- Many advanced apps allow layers for effects. Experiment with these to see combined results without losing original edits.
- Skipping the Review Step
- Always review your edits before finalizing. A second glance can help you catch mistakes or spots that need more work.
Expert Tips for Better Results
-
Utilize Natural Lighting: Photos taken in good lighting require less editing. Try to shoot during golden hour or near natural light.
-
Learn Basic Photography Principles: Understanding composition rules like the rule of thirds can drastically improve your original shots.
-
Experiment With Tools: Don’t be afraid to dive into various tools and settings. Every photo is unique, and experimentation can lead to exciting new techniques.
-
Use Templates for Consistency: If you’re editing for social media, maintaining a consistent style through templates can help build your personal brand.
- Stay Updated: Follow online communities or blogs focused on mobile photography and editing to keep up with new trends, tips, and techniques.
Summary or Final Checklist
Editing can transform your mobile photography experience from simple snapshots to impressive images. Here’s a quick checklist to ensure you receive the best results:
- Select the Right App: Choose an editing tool that complements your needs.
- Understand Basic Editing Tasks:
- Cropping: Improve composition.
- Background Removal: Focus on the subject.
- Retouching: Clean up imperfections.
- Color Adjustments: Enhance mood or effect.
- Experiment and Develop Your Style: Don’t hesitate to explore different styles and tools.
- Review and Finalize: Always review your edits to catch unnecessary changes.
Get ready to dive into the world of mobile photo editing! With the right tools and techniques, your snapshots can transform into works of art. Happy editing!